A BETTER COPYING STAND
By Eric Dugdale (Area 3+)
(From Area 3+ Local Newsletter)
It was all Uncle Alf's fault, Uncle Alf was my Mother's brother. My Granddad had worked at the local Gunpowder works and Uncle Alf was my only uncle on my mam's side. Anyway one of the local villages was putting on an exhibition about the Gunpowder Works and Uncle Alf's photo was required for the exhibition.
So my sister asked me if I could do an enlargement of Uncle Alf's photo to go into the exhibition, and of course I said I could. That was when the problem started. Uncle Alf's print would not go under my enlarging stand, it was just too big, so I started to look around for a "better copying stand". That's why it was Uncle Alf's fault, if Uncle Alf had not had his picture taken all those years back, then there would have been no picture to copy, and this problem with the copy stand would not have come to light.
My first home made copy stand was Made from plywood (see photo 1) and suited my needs at the time. Copy stand number 2 started life as an enlarger. I bought it for 5Op at a meeting of the Photographic Collectors Club of Great Britain (see photo 2).
After stripping down all the bits and pieces that made it into an enlarger it soon converted into a strong but heavy Copy Stand. Heavy because the pillar was 1/4 inch thick hollow brass. The counter weight to balance the weight of the enlarger was solid lead. This weight slid down inside the hollow brass pillar and was connected to the enlarging head with flexible wire that entered the pillar via two pulleys. They don't make them like this any more. If they did half the darkroom workers would be going round with ruptures!!
I'm told that the rupture will heal with surgery. This is not the end. Copy stand No. 3 is being made at this moment and I will give a full report on its progress when it is completed.

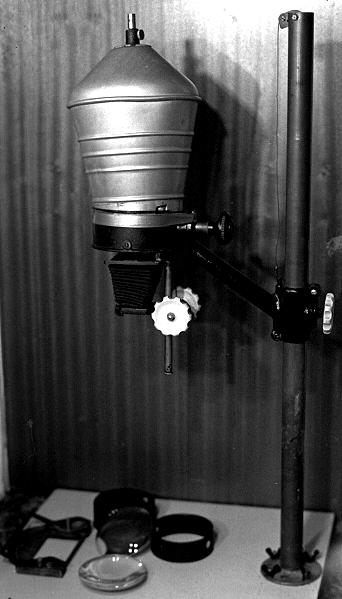
Photo 1 Photo 2. The Johnson V/25 Enlarger before conversion

Photo 3. Condensers, holders and
negative carrier removed.

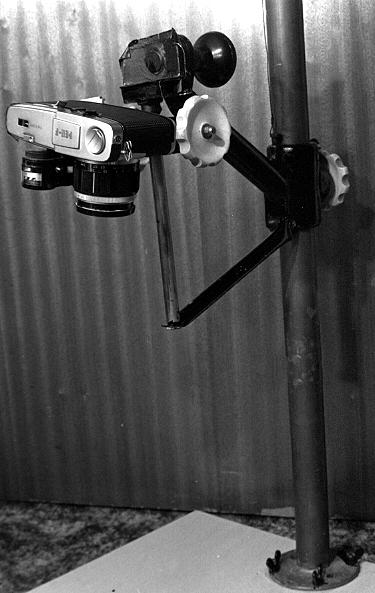
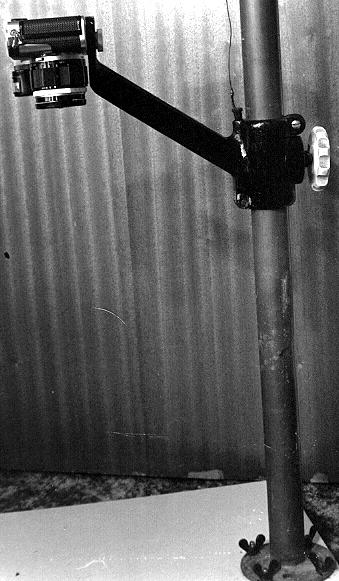
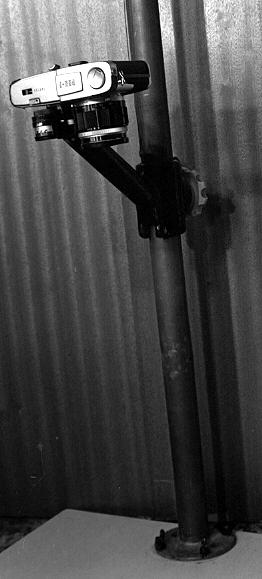
------------ Photo 4. ------------------- Photo 5. ------------------- Photo 6. ------------------ Photo 7.
----------- The camera holder ------ the Camera mounted -- Second position -------- Second position
----------- and arms ready for use - (not too straight) ------- (more rigid) ------------- (and more rigid)
-------------------------------------------- and ready for use